Armed with dry shampoo, glitter, hair crayons and thousands of bands and grips, most festival goers attempt to keep their hair looking rad for a weekend while avoiding washing/brushing it for as long as possible. For me this is pretty common practice for every day. My hair is really thick so it’s a total pain to wash and goes completely fluffy whenever I brush it. My favourite way to get all of my mane out of the way is braiding, which seems to be a hairstyle headliner at Glastonbury as well! Check out these beauties that I spotted while I was there:

I’ve put together a few little guides to my favourite lazy braid styles that can be a lifesaver when you need your hair up but are sick of ponies and buns. Before attempting these I would recommend taking off any rings. There is nothing worse than completing a 5 star braid only to catch your new midi ring in the perfectly constructed style. I would also suggest putting on some chilled out, soothing music (my choice is Alt-J) because braiding requires quite a lot of brain action and can be super stressful. Not kidding.
1. Halo Plait (for frizzy hair maintenance)

This braid always draws a lot of compliments as it looks quite complicated and high fash. It’s actually really easy once you’ve practised a few times.
– Start by parting your hair down the centre and select a small section of hair at the back of your head to one side of the parting.
-Start as you would with a normal braid but after a few folds start to work the braid up the side of your head, adding in sections of hair as you go.
-Keep going all the way around your head and then tie the end of the braid with a hairband, tuck the end underneath where you started and grip in place.
-Make sure you mess the braid up and hairspray it to reduce that milkmaid chic.
-Switching hands around is where this braid gets tricky, so don’t worry if it takes a few attempts at first. Just breathe, let Alt-J calm you down and start again.
I also normally do this as an inverse braid (adding sections underneath rather than over the top of the braid) but either way looks killer!
2. Diagonal braid (when you can’t be bothered but don’t want to look boring)
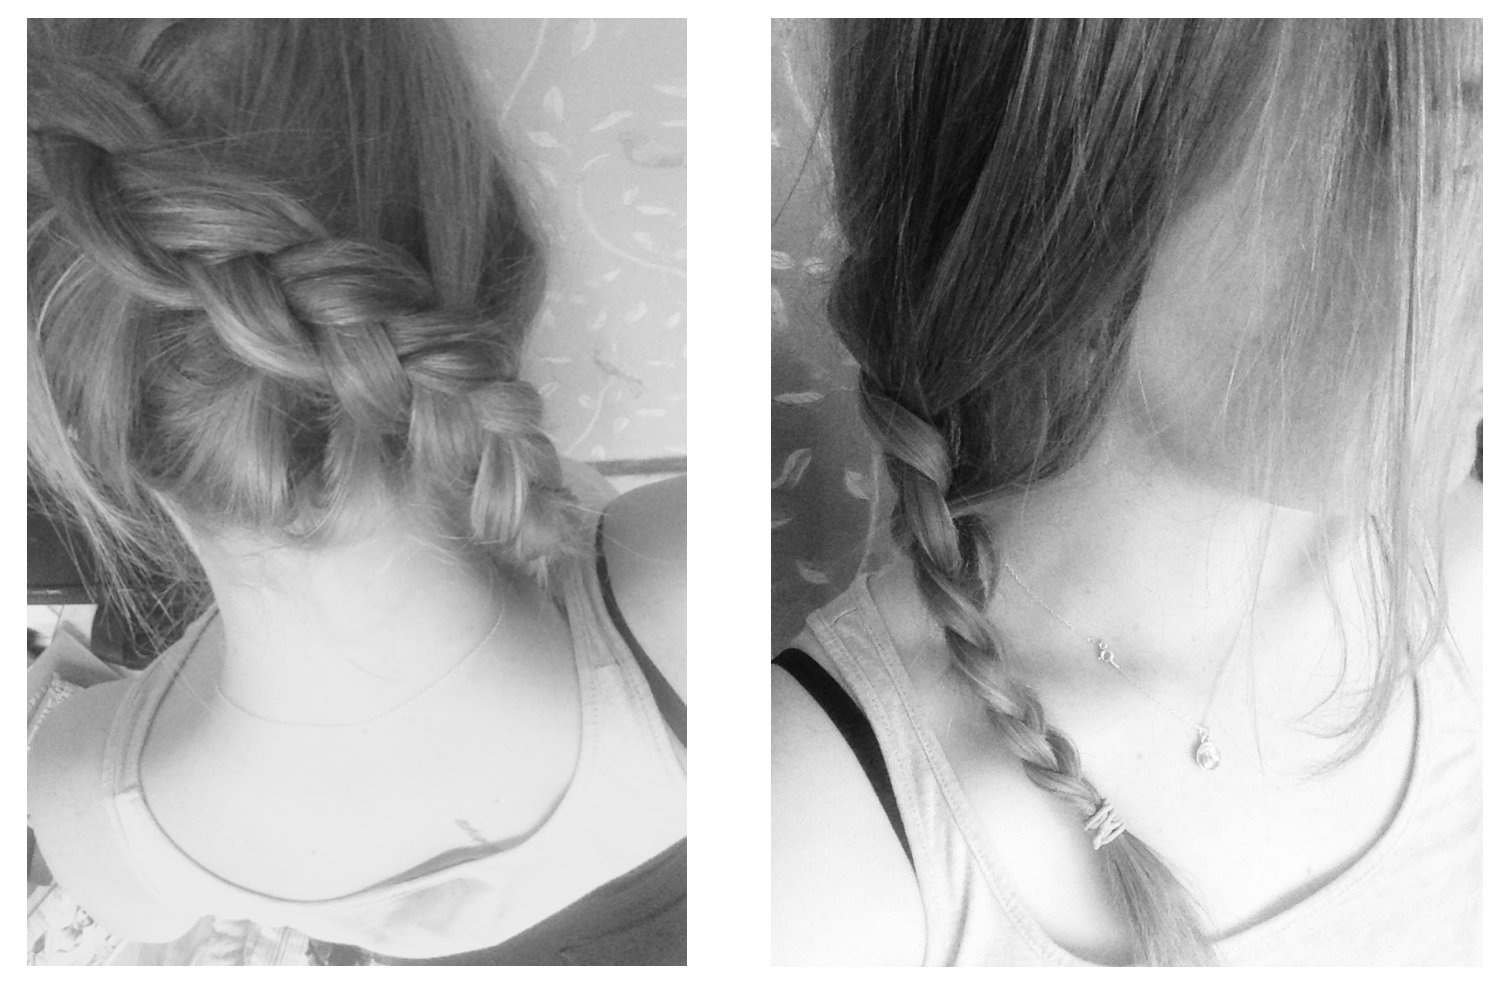
This is the same as any inverse french plait but goes from one side of your head to the other. If you have a fringe braid it into your hair then pull it out after to avoid those weird strands of hair dangling down your forehead that everyone used to have in the nineties (what actually were they?). I love this because its super fast and if it goes wrong you can just pretend it was meant to look like that.
3. Micro braid (‘the greasy fringe disguiser’)

Because you touch it and tuck it behind your ears a lot, your fringe normally gets greasy before the rest of your hair. Luckily 70s styles are massive right now so you can channel a bit of boho-hippy and tuck all the greasyness into a braid! Rub the braid with your fingers before you grip it back to make it a bit looser.
4. Fishtail plait (If you want to look posh but don’t have time to hit the straighteners)
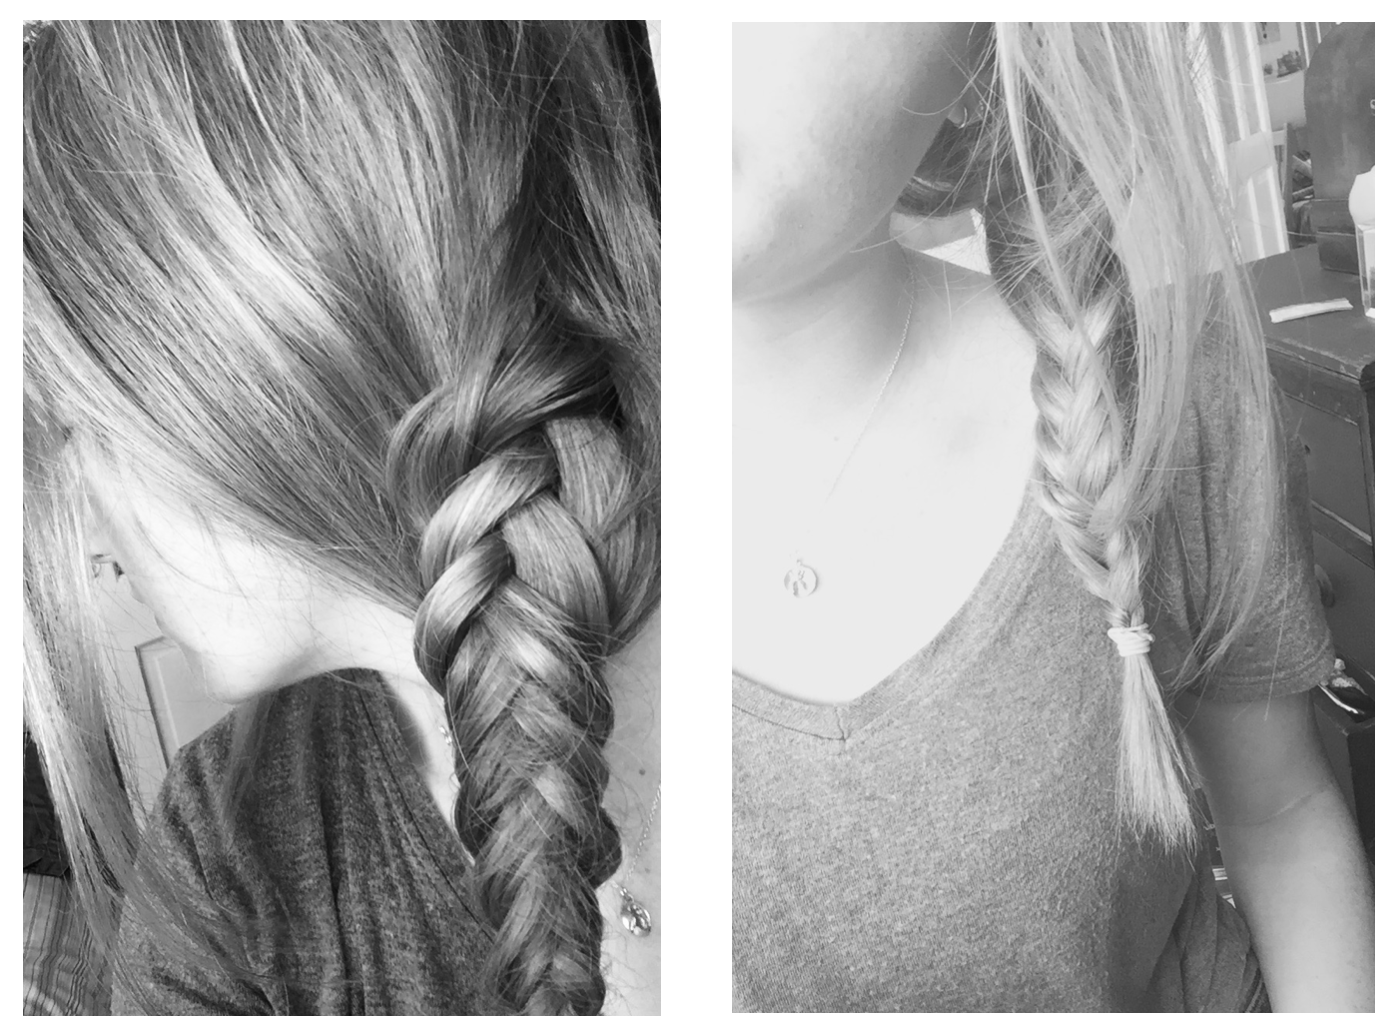
This braid works for formal events as well as every day, just change how far along you go on the messiness scale accordingly. Keep all your sections uneven and use a toothbrush to mess up the braid once your done to avoid that try-hard Zoella vibe.
– Begin with your hair in two sections.
– Grab a piece of hair from underneath one section and add it to the other side just as you would with a normal braid.
– Keep doing this to the end of the brain, varying the size of the sections you choose.
– Back brush with an old toothbrush and add salt spray for a bit more of a beachy look.
